
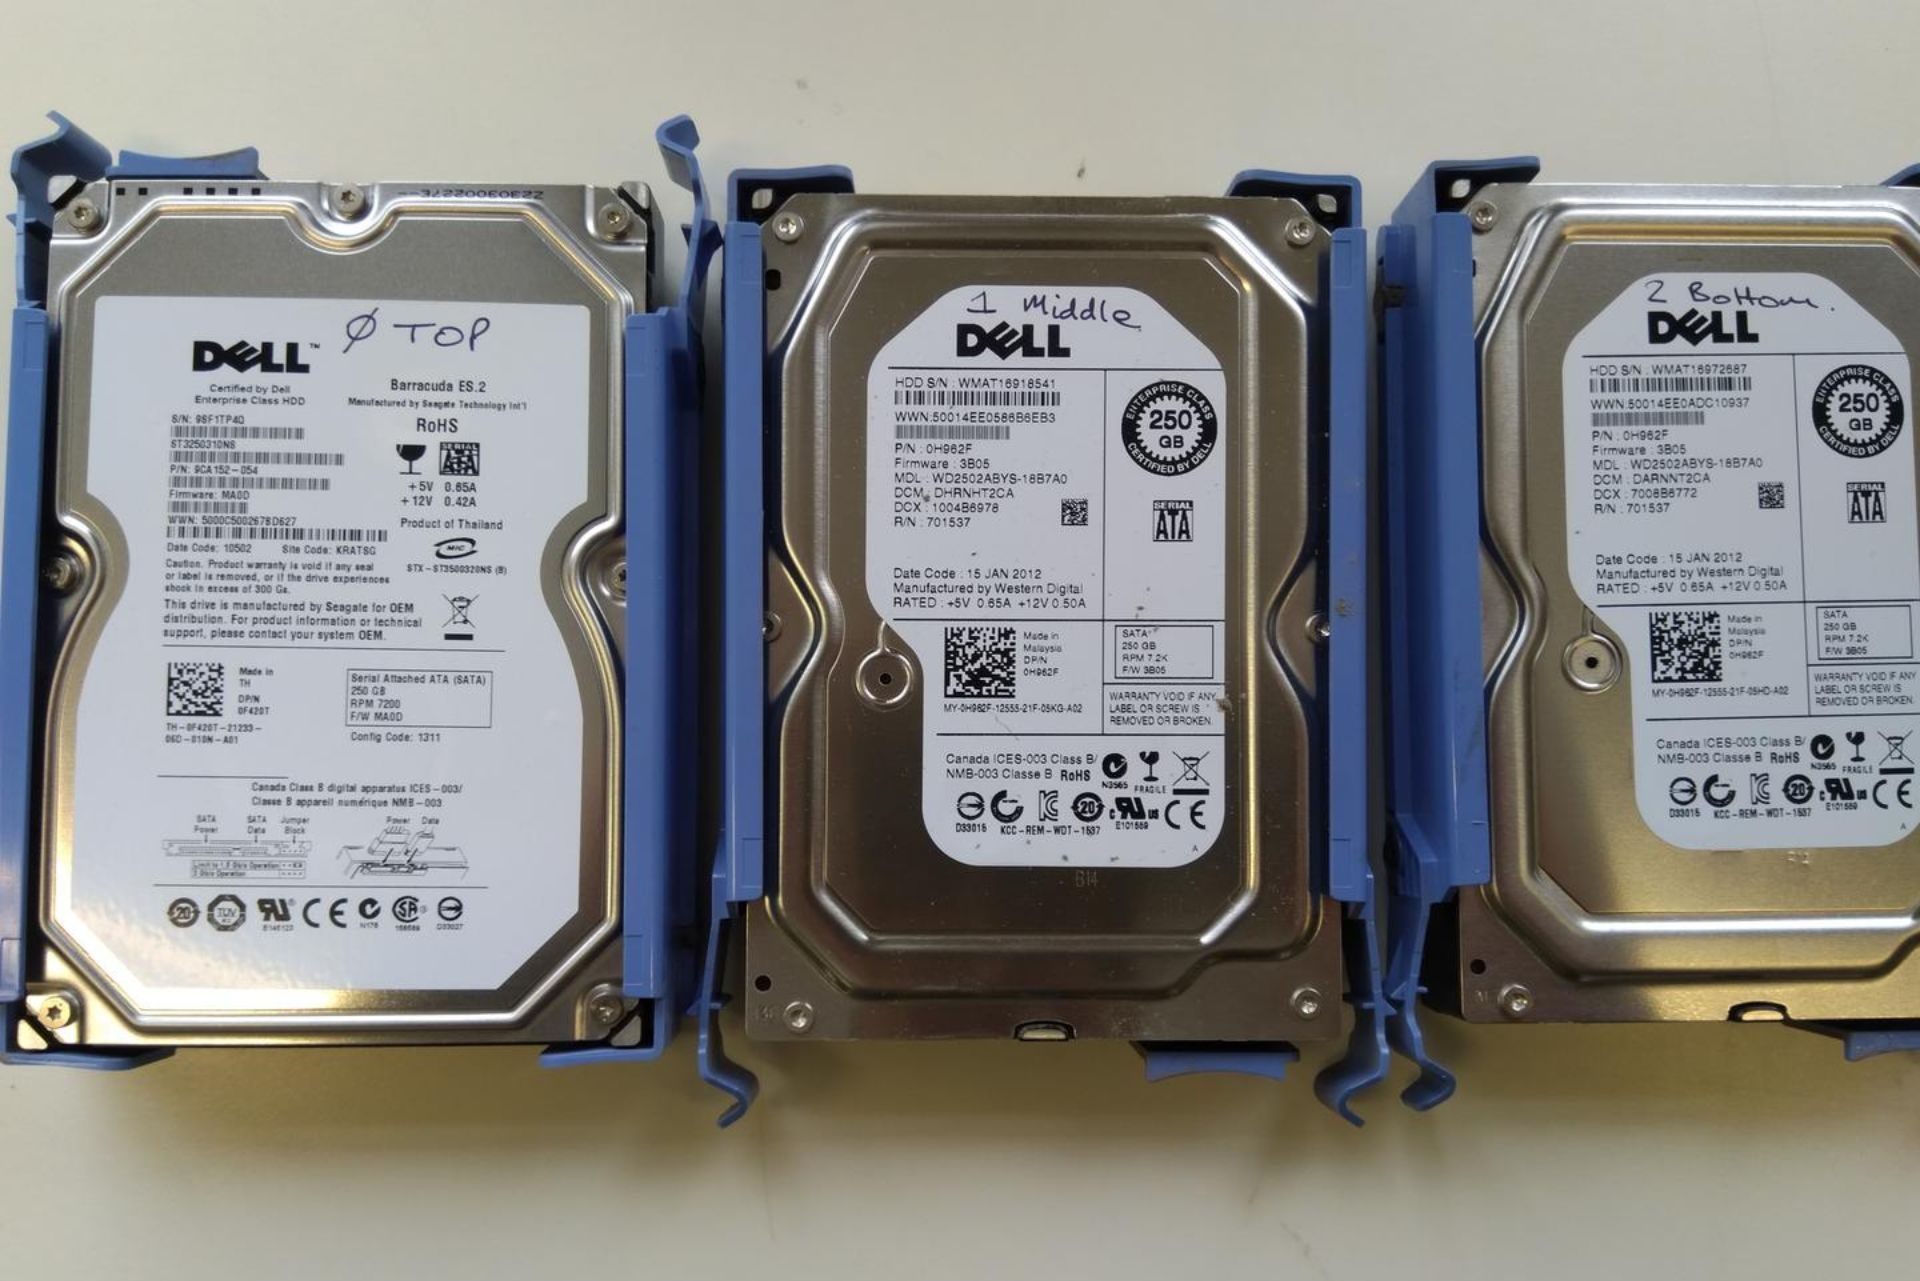
There’s a particular kind of silence that follows a hard drive that won’t spin up. The external drive that holds ten years of family photos suddenly isn’t recognised. The MacBook with your thesis on it won’t get past the Apple logo. The office NAS that “always just worked” is now flashing an amber light and the accounts team is asking questions you can’t answer.
Data loss is one of those problems that feels abstract right up until it happens to you, and then it becomes the only thing that matters. The good news is that in the majority of cases the data is still physically there, sitting on the platters or the flash chips, waiting for someone with the right tools to get it back. The bad news is that the first few things most people try tend to make things worse.
This guide walks through how data recovery works in New Zealand, what it realistically costs, how to tell a legitimate lab from a reseller, and what to do (and not do) in the hours after a failure. Throughout, we point to Kiwi Data Recovery, an Auckland-based lab that has been doing this work in-house since 2016 and is, in our view, one of the more transparent operators in the country.
Why data recovery in New Zealand is a little different
New Zealand is a small market a long way from anywhere, and that shapes the data recovery landscape in a few ways.
First, there aren’t many true labs here. A lot of businesses that advertise “data recovery” are computer repair shops or IT support companies who will try a software tool, and if that doesn’t work, post your drive to a specialist, sometimes overseas. That adds weeks, adds handling risk, and means your device is being opened by someone you’ve never spoken to. When you’re choosing a provider, ask a plain question: is the work done on your premises, by your staff? Kiwi Data Recovery is explicit that recoveries are performed in their own Auckland lab by their own team, with no third-party transfers, which is exactly the answer you want to hear.
Second, geography matters. If you’re in Whangārei, Nelson or Invercargill, you can’t drop a drive off at a lab in person, so the courier step becomes part of the recovery. A good provider will have a clear process for this. Data Recovery Auckland accepts overnight courier from anywhere in New Zealand and gives sensible packing instructions: a rigid box, bubble wrap, a snug fit, nothing rattling.
Third, our weather has become a real data-loss risk. The Auckland Anniversary floods and Cyclone Gabrielle in 2023 destroyed an enormous number of home computers, external drives and small-business servers in Auckland, Hawke’s Bay, Gisborne and Northland. Water-damaged drives are recoverable more often than people assume, but only if they’re handled correctly, which usually means not powering them on and not letting them dry out in the sun.
The most common causes of data loss we see in NZ homes and businesses
Failures fall into a few broad families, and the right response depends on which one you’re dealing with.
Mechanical hard drive failure. Clicking, grinding, or a drive that spins up and then stops. This is the classic head crash or motor failure, and it’s the category where DIY attempts do the most damage. Every extra power-on with failed heads can scrape more of the platter surface away. If your drive is making a new noise, unplug it and stop. These jobs need donor parts, a clean environment and hardware imagers rather than software.
SSD and flash failure. SSDs don’t click; they just disappear. One day the drive shows up with the wrong capacity, or not at all, or the laptop says there’s no bootable device. Flash recovery is a different discipline from spinning-disk recovery because it involves controller firmware and, in hard cases, reading the NAND chips directly. Not every lab can do this. Kiwi Data Recovery’s SSD work covers both SATA and NVMe drives, including the soldered storage in modern MacBooks.
Portable and external drives. These are the drives people carry between home and work, drop off desks, and leave in the car on a hot day. Physical shock is the usual culprit. Because so many family photo collections live on exactly one of these, it’s also the category with the highest emotional stakes.
Logical failure and accidental deletion. Formatted the wrong drive, deleted a folder, a corrupted partition table after a bad update. The hardware is fine, the filesystem isn’t. This is the one area where consumer software can sometimes help, but with an important caveat we cover below.
RAID, NAS and server failure. Synology and QNAP boxes are hugely popular with NZ small businesses, and they are not a backup. RAID protects against one disk failing; it does nothing about a second disk failing during a rebuild, a controller fault, or a bad firmware update that scrambles the array. Multi-disk recovery is complex and expensive to get wrong. Kiwi Data Recovery handles Synology, QNAP and traditional server arrays, and the single most important advice is: don’t start a rebuild or swap disks in a panic.
Phones and tablets. A dead iPhone with the only copy of your kids’ baby videos on it is a common call. Modern phones are encrypted, which means recovery has to work with the device rather than around it. Kiwi Data Recovery covers both iPhone and Android, and has a background in board-level electronics, which is what liquid damage and dead logic boards actually require.
Memory cards and USB sticks. Cheap, ubiquitous, and often the only copy of a wedding shoot or a semester’s coursework. Recovery frequently involves physically damaged connectors or monolithic chips that need to be read directly.
The first hour: what to do and what not to do
What you do in the first hour after a failure has more effect on your odds than almost anything a lab does afterwards.
Power it off and leave it off. A failing drive is not going to fix itself on the fourth restart. As Kiwi Data Recovery puts it, “power it off, pack it well, and let its next power-on happen in the lab.”
Don’t run repair utilities. CHKDSK, First Aid in Disk Utility, fsck, and the like are designed to repair a filesystem on a healthy disk. On a failing disk they can overwrite the very structures a lab would use to rebuild your folders.
Don’t reinstall the operating system. A surprising number of people are told by a help desk to “just reinstall Windows.” Every write to the drive reduces what can be recovered.
Don’t open it. There is no such thing as a clean enough kitchen table. Platters are damaged by dust you can’t see.
Don’t put it in the freezer. This is an old internet myth from a different era of drive design. Today it mostly adds condensation to your problems.
If it’s wet, keep it wet. Counterintuitive, but a flood-damaged drive that dries out leaves mineral deposits on the platters. Seal it in a bag with a damp cloth and get it to a lab quickly.
Write down exactly what happened. The sequence of events (dropped, then clicked, then stopped being recognised) helps a technician triage properly. Kiwi Data Recovery does “honest triage on the phone, before you spend anything,” so having that story ready is useful.
DIY recovery software versus a professional lab
There’s a place for consumer recovery software, and it’s narrow: a healthy drive where you’ve deleted or formatted something, and where you can recover to a different drive. In that scenario, tools like PhotoRec, Recuva or Disk Drill are worth a try.
Everywhere else, they’re a risk. Software recovery works by reading the drive intensively for hours. On a drive with failing heads, weak sectors or a dying controller, that intensive reading is precisely what finishes it off. Labs get around this by first taking a sector-by-sector image on hardware imagers that can throttle, retry and skip bad areas gently, then performing the recovery from the image rather than the original. That’s how Kiwi Data Recovery approaches every job: your original device is imaged once, carefully, and the actual recovery work happens on the copy.
A rule of thumb: if the drive is making a new sound, is not detected at all, shows the wrong capacity, or the data is irreplaceable, skip the software and go straight to a lab.
Repair or recovery? Work out which one you actually need
A surprising number of people call a data recovery lab when what they have is a repair problem, and vice versa. The distinction matters because the two jobs are priced and handled very differently.
If your device won’t turn on, has a smashed screen, a dead keyboard, a swollen battery, or a logic board fault, but the storage inside is healthy, that’s a repair. Fix the machine and your data is right where you left it. In Auckland, 73inc in Grey Lynn is a good example of an independent Apple repair Auckland specialist that does board-level diagnostics rather than just swapping whole assemblies, and has been at it since 2016. For a laptop that’s physically broken but was working fine right up until it wasn’t, a MacBook repair is usually the faster and cheaper route, and the data comes along for the ride.
If the storage itself has failed, meaning the drive clicks, the SSD isn’t detected, the NAS array has dropped two disks, or the phone was working but the data is gone, that’s recovery, and it needs a lab with imaging hardware rather than a repair bench. That’s where Kiwi Data Recovery comes in.
The grey area is modern Macs, where the SSD is soldered to the logic board. A liquid spill or a dead board can leave you needing both disciplines: recovering the data off the board first, then deciding whether the machine is worth repairing. A good repair shop and a good recovery lab will each tell you honestly when the job belongs to the other. If a provider claims to do everything equally well, ask a few pointed questions about their imaging equipment and their donor parts library.
What professional data recovery actually looks like
People imagine a mysterious black box. In reality a reputable lab’s process is fairly consistent, and Kiwi Data Recovery lays theirs out in five steps:
- Contact and triage. You call, WhatsApp or book online, describe the device and what happened, and get a realistic first read before any money changes hands.
- Transport. Drop-off at their lab at 213 Dominion Road, Mount Eden, Auckland (they’re open 9am to 9pm), or overnight courier from anywhere in the country.
- Assessment and quote. The device is opened, tested on dedicated equipment, and the actual fault identified. You then receive a firm, fixed quote for the recovery, along with a realistic timeframe and an honest view of the risks.
- Your decision. You approve or decline. The quote doesn’t creep.
- Recovery and return. The work is done in-house in Auckland, the recovered data is verified, and it comes back to you on new storage media or via secure transfer.
The reason we like this model is the firm quote after assessment. A lot of frustration in this industry comes from “estimates” that balloon once the provider has your drive and knows you’re desperate.
What data recovery costs in New Zealand
This is the question everyone wants answered and the one most providers dodge. Let’s be direct.
Professional data recovery is not cheap, because it involves skilled labour, expensive equipment, and frequently donor parts sourced from matching drives. In New Zealand, straightforward logical recoveries typically run into the hundreds of dollars, mechanical hard drive recoveries commonly land in the low thousands, and complex RAID or NAND-level work can go higher.
What matters more than the headline number is how the pricing is structured. Kiwi Data Recovery publishes their approach on their Pricing page, and there are a few things worth noting:
- Assessment is charged, from $230. This is not a “free evaluation.” Their argument, which we think is fair, is that a real diagnosis involves opening the device and testing it on specialist gear, which is genuine work. What you get for it is a definitive answer about what failed, whether the data is recoverable, and a firm quote.
- Recovery is quoted on the fault, not the gigabytes. A 500GB drive and a 4TB drive with the same head failure cost about the same to recover. Mechanical faults cost more than electronic ones, which cost more than software ones. Donor parts are itemised.
- No hidden loadings. In their words: “No percentage of ‘data value’, no urgency loading you didn’t ask for, no handling fees, no charge for bad news.” If the data turns out to be unrecoverable, you pay the assessment fee and nothing more.
Be wary of the opposite model: a “free diagnosis” followed by a quote that mysteriously scales with how important the data seems to be. Free assessments are often subsidised by inflated recovery pricing, and the incentive to tell you the truth about recoverability is weaker.
How to choose a data recovery provider in NZ
A short checklist, whether you go with Kiwi Data Recovery or anyone else:
- Is the work done in-house, in New Zealand? If your drive is going to be couriered to a third party, you want to know that up front.
- Do they image first? Any lab that works directly on your original device rather than a sector-by-sector image is taking risks with your data.
- Can they handle your specific device? Flash and SSD recovery, encrypted phones, and multi-disk arrays each require specific expertise and tooling. Ask about the device type you actually have.
- Is the quote firm? Get it in writing before approving anything.
- What happens to your data afterwards? Ask about confidentiality and how long they retain your image after the job is complete.
- Can you talk to a technician? Being able to describe your problem to the person who’ll actually work on it, rather than a sales desk, is a good sign. This is one of the reasons we keep coming back to Kiwi Data Recovery; they’re a specialist team rather than a call centre.
Their case studies section is also worth reading before you commit to anyone, simply because it shows the kind of jobs a real lab takes on and how they think about them.
Making sure this never happens again
Once your data is back, the priority is making sure you never need this article a second time. The standard advice is the 3-2-1 rule: three copies of your data, on two different types of media, with one copy off-site.
In practice, for a New Zealand household or small business, that looks like:
- Your working files on your computer or NAS.
- An automated local backup (Time Machine, Windows File History, or your NAS’s backup app) to a separate drive.
- A cloud or off-site copy, whether that’s Backblaze, iCloud, OneDrive, Google Drive, or a second NAS at a family member’s house.
Two points that come up constantly. RAID is not a backup; it protects uptime, not data. And a single external drive that you copy things to “sometimes” is not a backup either; it’s a second single point of failure.